

Advertiser setup
Every offer in Integr8 belongs to an advertiser. Create at least one advertiser before you create your first offer. Advertisers can be true brand accounts (one per client) or grouping categories for related offers. Targeting rules, fraud filters, and payouts can later be configured at the advertiser level and inherited by all offers under it.
Before you begin
Section titled “Before you begin”- Have the advertiser’s company name, website, and contact email ready.
- Decide whether you need separate advertisers per client, or a single advertiser as a catch-all bucket.
- Confirm you have write access to Advertisers. Users without write access can view advertisers but cannot create them.
Create an advertiser
Section titled “Create an advertiser”The create flow has three steps: General, Contact Details, and Postback Settings.
Step 1: General
Section titled “Step 1: General”- Go to Partners > Advertisers Management and click Create.
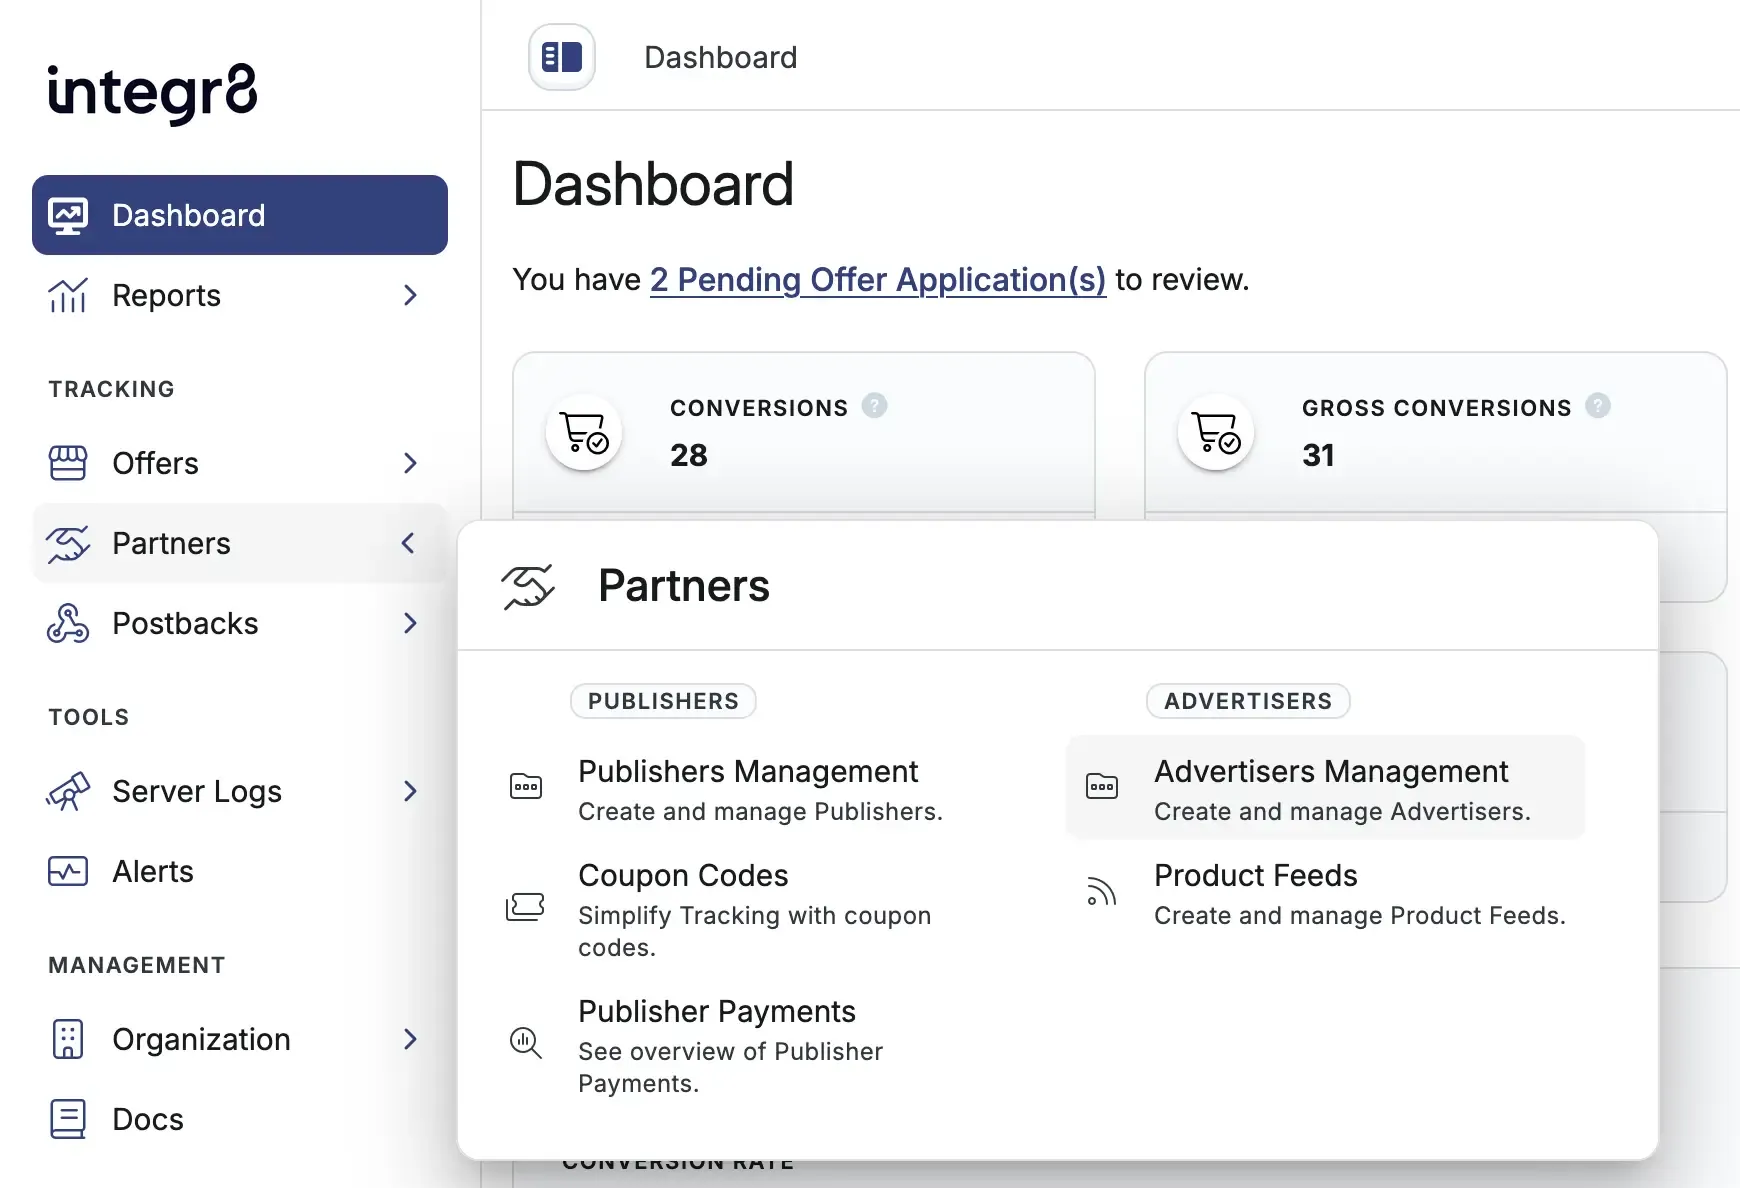
- Fill in the advertiser details:
- Name: internal label for the advertiser. Required.
- Description: optional notes about the advertiser.
- Account Manager: assign a user with the Account Manager role to manage this advertiser. Hidden if you are logged in as an account manager.
- Tags: optional labels for filtering and grouping this advertiser in reports.
You can move between General, Contact Details, and Postback Settings using the sidebar navigation. Name must be valid before you can switch tabs.
Click Edit Contact Details.
Step 2: Contact Details
Section titled “Step 2: Contact Details”Add account and contact information:
- First name and Last name
- Company Name: the advertiser company name.
- Country
- Website: the advertiser’s main domain.
- Email: used for login and account correspondence. Must be a valid email address if provided.
Click Edit Postback Settings.
Step 3: Postback Settings
Section titled “Step 3: Postback Settings”Configure how conversion and event tracking is secured for this advertiser:
- Advertiser Level Secure Code: when enabled, this secure code authenticates conversions for this advertiser. When disabled, the offer secure code or global secure code is used instead.
- Only Allow Event from known Server IPs: when enabled, only incoming conversions and events from known platform IPs or approved server IPs you add are accepted.
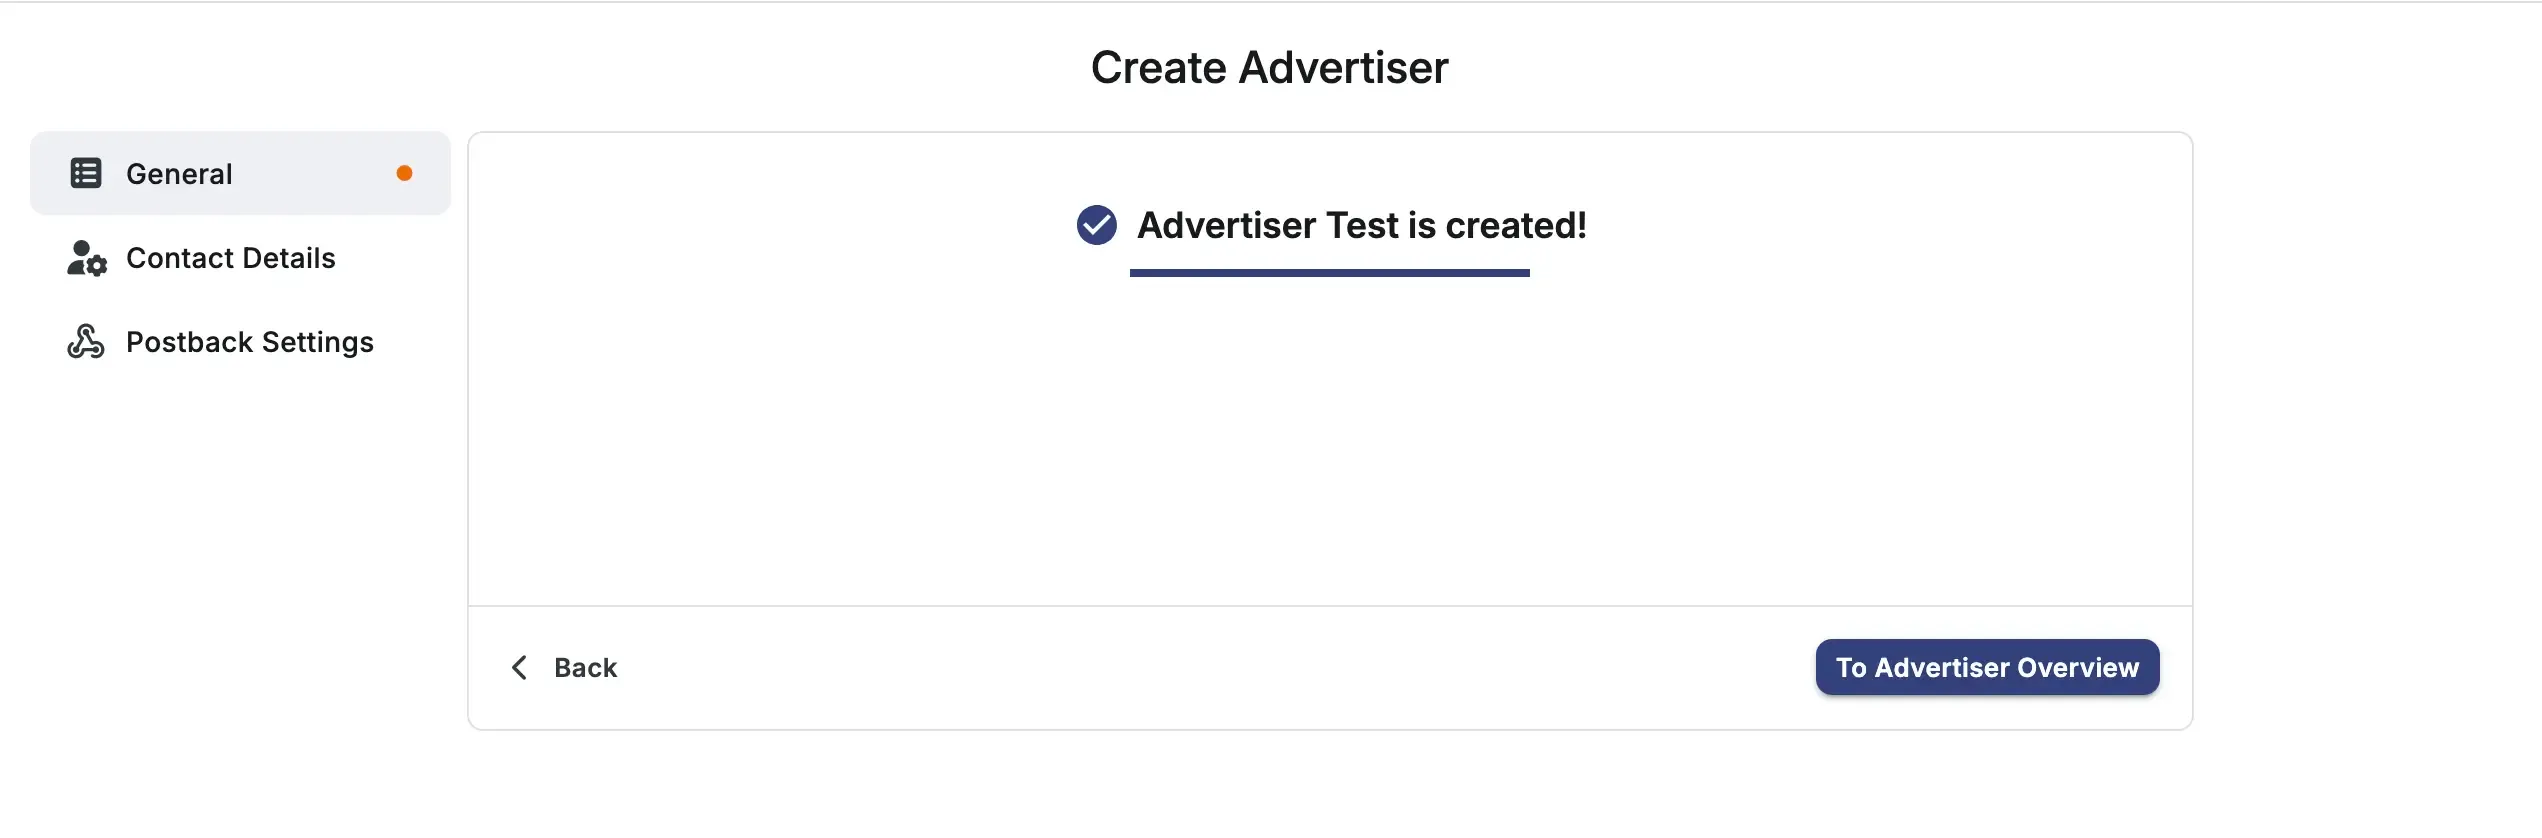
Click Create Advertiser to create the advertiser.
Choose To Advertiser Overview to open the new advertiser page, or Back to return to Advertisers Management.
If all your offers belong to one brand, a single advertiser is sufficient. Add more advertisers when you need separate rule sets, reporting views, or client separation.
Field reference
Section titled “Field reference”General
Section titled “General”| Field | Required | Description |
|---|---|---|
| Name | Yes | Internal label for the advertiser |
| Description | No | Optional notes about the advertiser |
| Account Manager | No | User that manages this advertiser. On report pages, use the Account Manager filter to group performance data for multiple advertisers. Hidden if you are logged in as an account manager |
| Tags | No | Labels used to quickly find data related to this advertiser in reports and tables |
Contact Details
Section titled “Contact Details”| Field | Required | Description |
|---|---|---|
| First name | No | Contact first name |
| Last name | No | Contact last name |
| Company Name | No | The advertiser company name |
| Country | No | Advertiser country |
| Website | No | Advertiser’s main domain |
| No | Login and account correspondence email. Must be valid if provided |
Postback Settings
Section titled “Postback Settings”| Field | Required | Description |
|---|---|---|
| Advertiser Level Secure Code | No | When enabled, this secure code authenticates conversions for this advertiser. When disabled, the offer secure code or global secure code is used instead |
| Only Allow Event from known Server IPs | No | When enabled, only incoming conversions and events from known platform IPs or approved server IPs you add are accepted |
Next steps
Section titled “Next steps”- Create your first offer under this advertiser.
- Add a product feed so publishers can build storefronts from the advertiser’s catalogue.
- Open Settings on the advertiser details page to update general, contact, or danger zone options after creation.