

Publisher setup
Publishers can be added to Integr8 in two ways: manually by an admin, or via self-signup through the white-label portal. Both methods create the same publisher account type. This guide walks through the manual flow and links to the self-signup path.
Before you begin
Section titled “Before you begin”- Have the publisher’s company name, email, and website ready.
- Decide whether the publisher should see their own fraud stats and manage their own postbacks.
Create a publisher manually
Section titled “Create a publisher manually”The create flow has three steps: General, Settings, and Billing.
Step 1: General
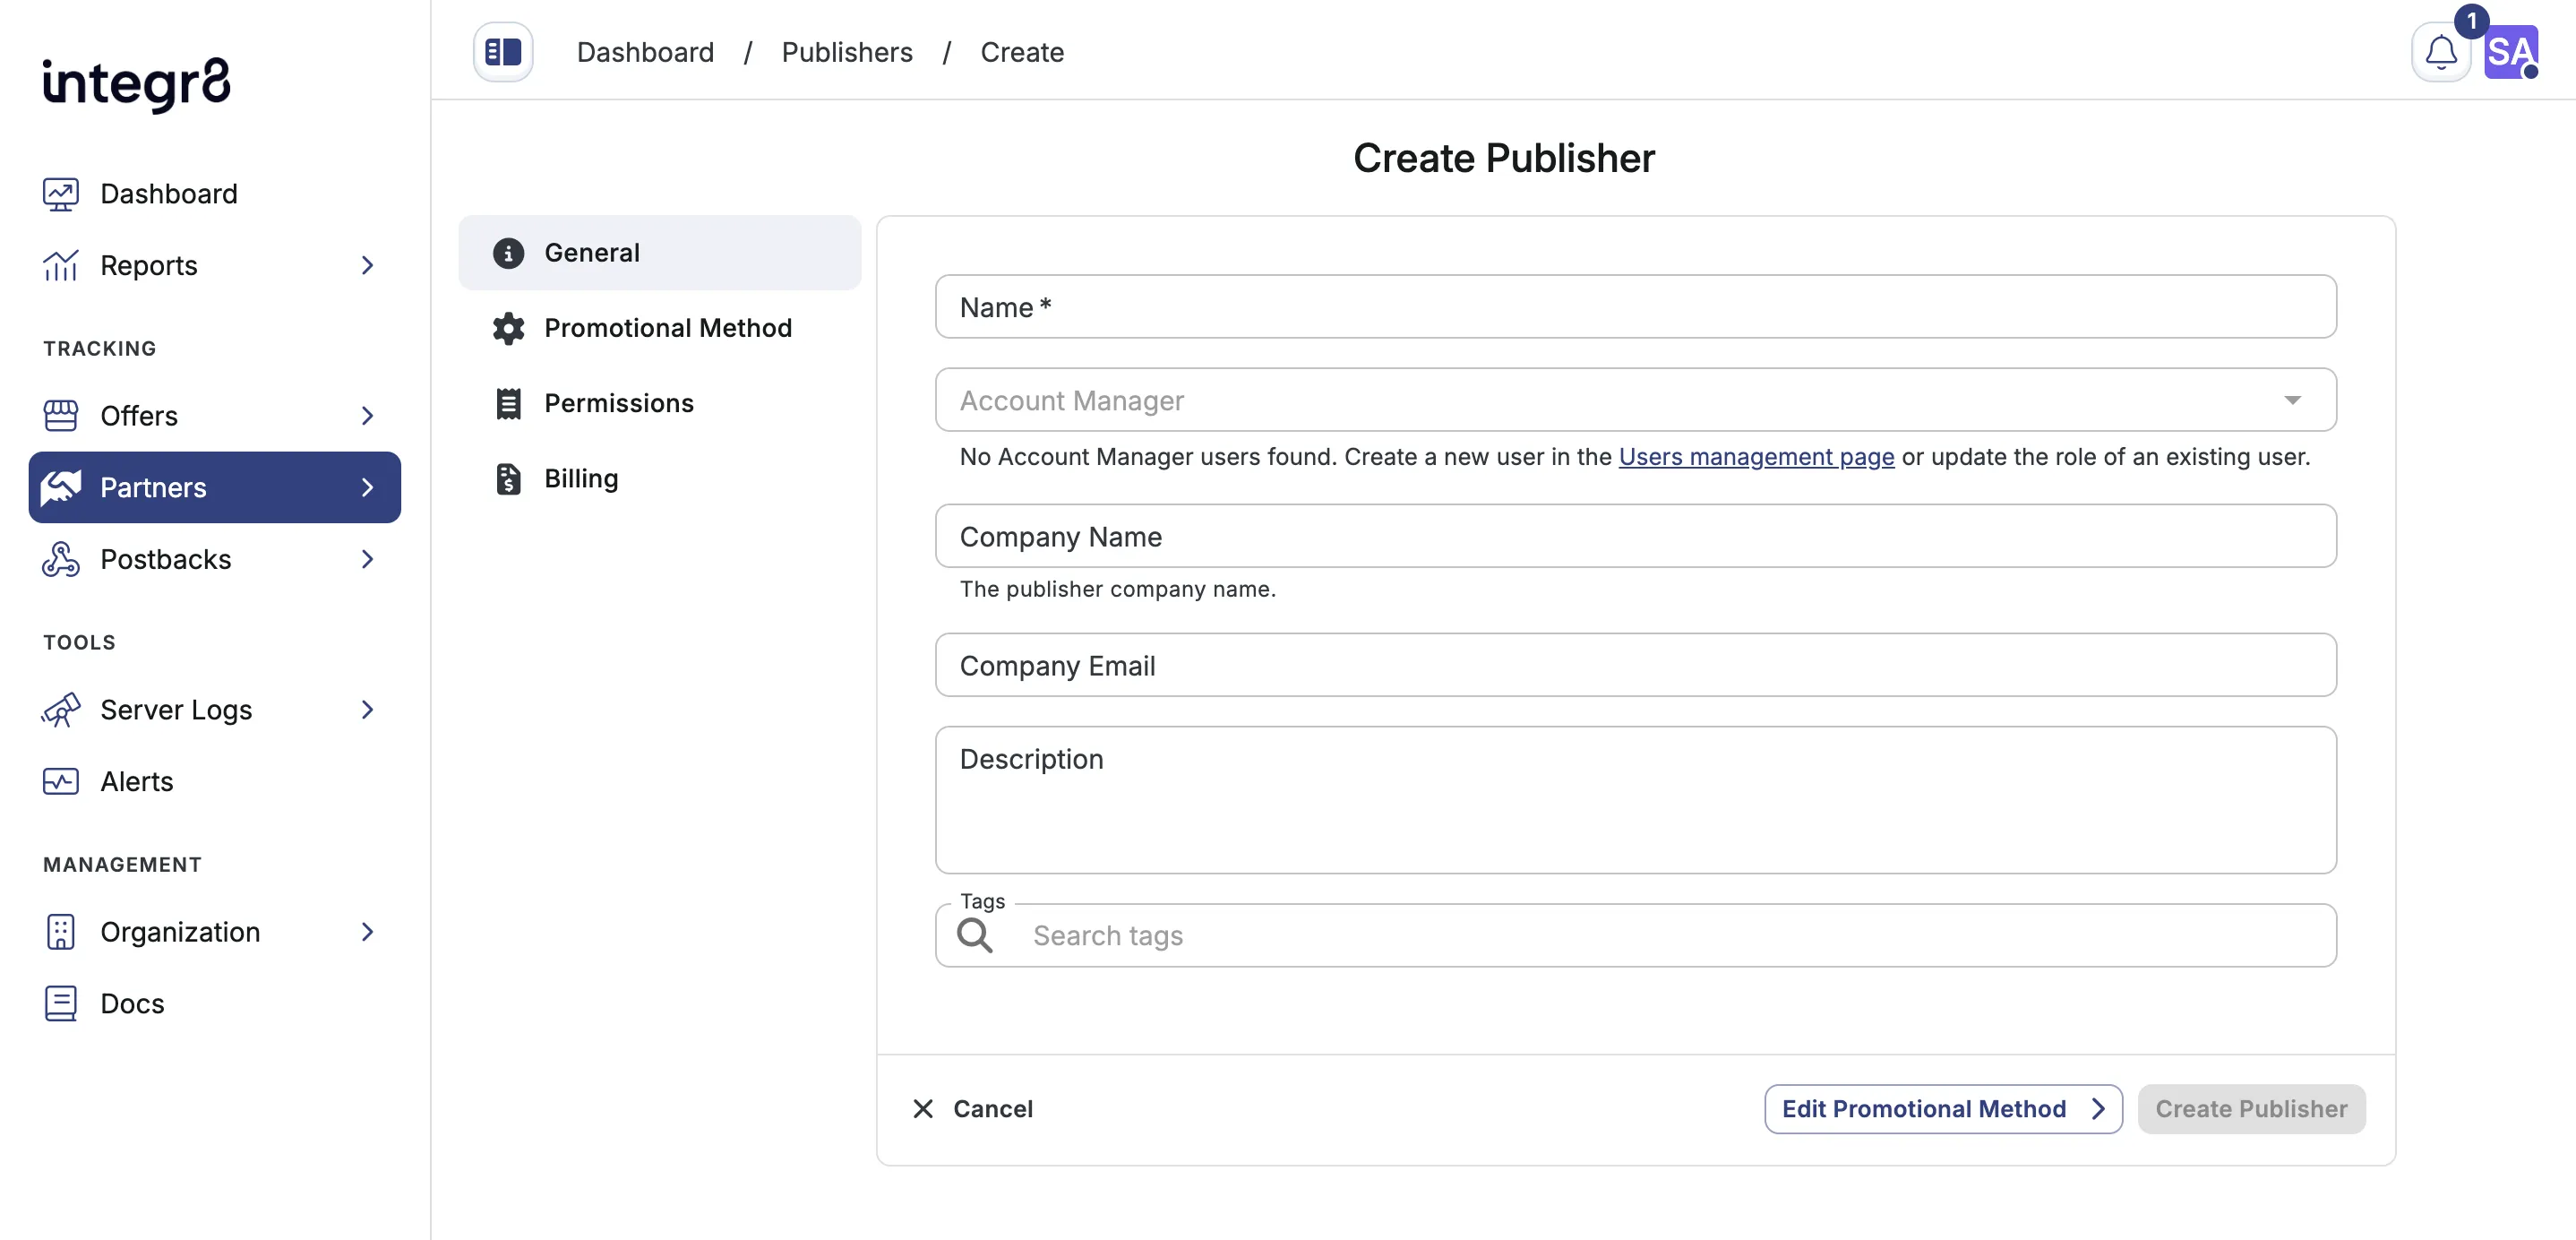
Section titled “Step 1: General”- Go to Partners > Publishers Management and click Create.
- Fill in the publisher’s details:
- Name: the publisher’s company or brand name.
- Company Name: optional legal or display company name.
- Company Email: optional contact email.
- Website: the publisher’s main domain.
- Account Manager, Description, Phone, Address, Country, and promotional details as needed.
- Click Create Publisher.
Step 2: Settings
Section titled “Step 2: Settings”Configure account settings:
Promotional Method Tab
Section titled “Promotional Method Tab”- Country – Select the country where the publisher operates.
- Promotional Methods – Select all methods that apply to this publisher.
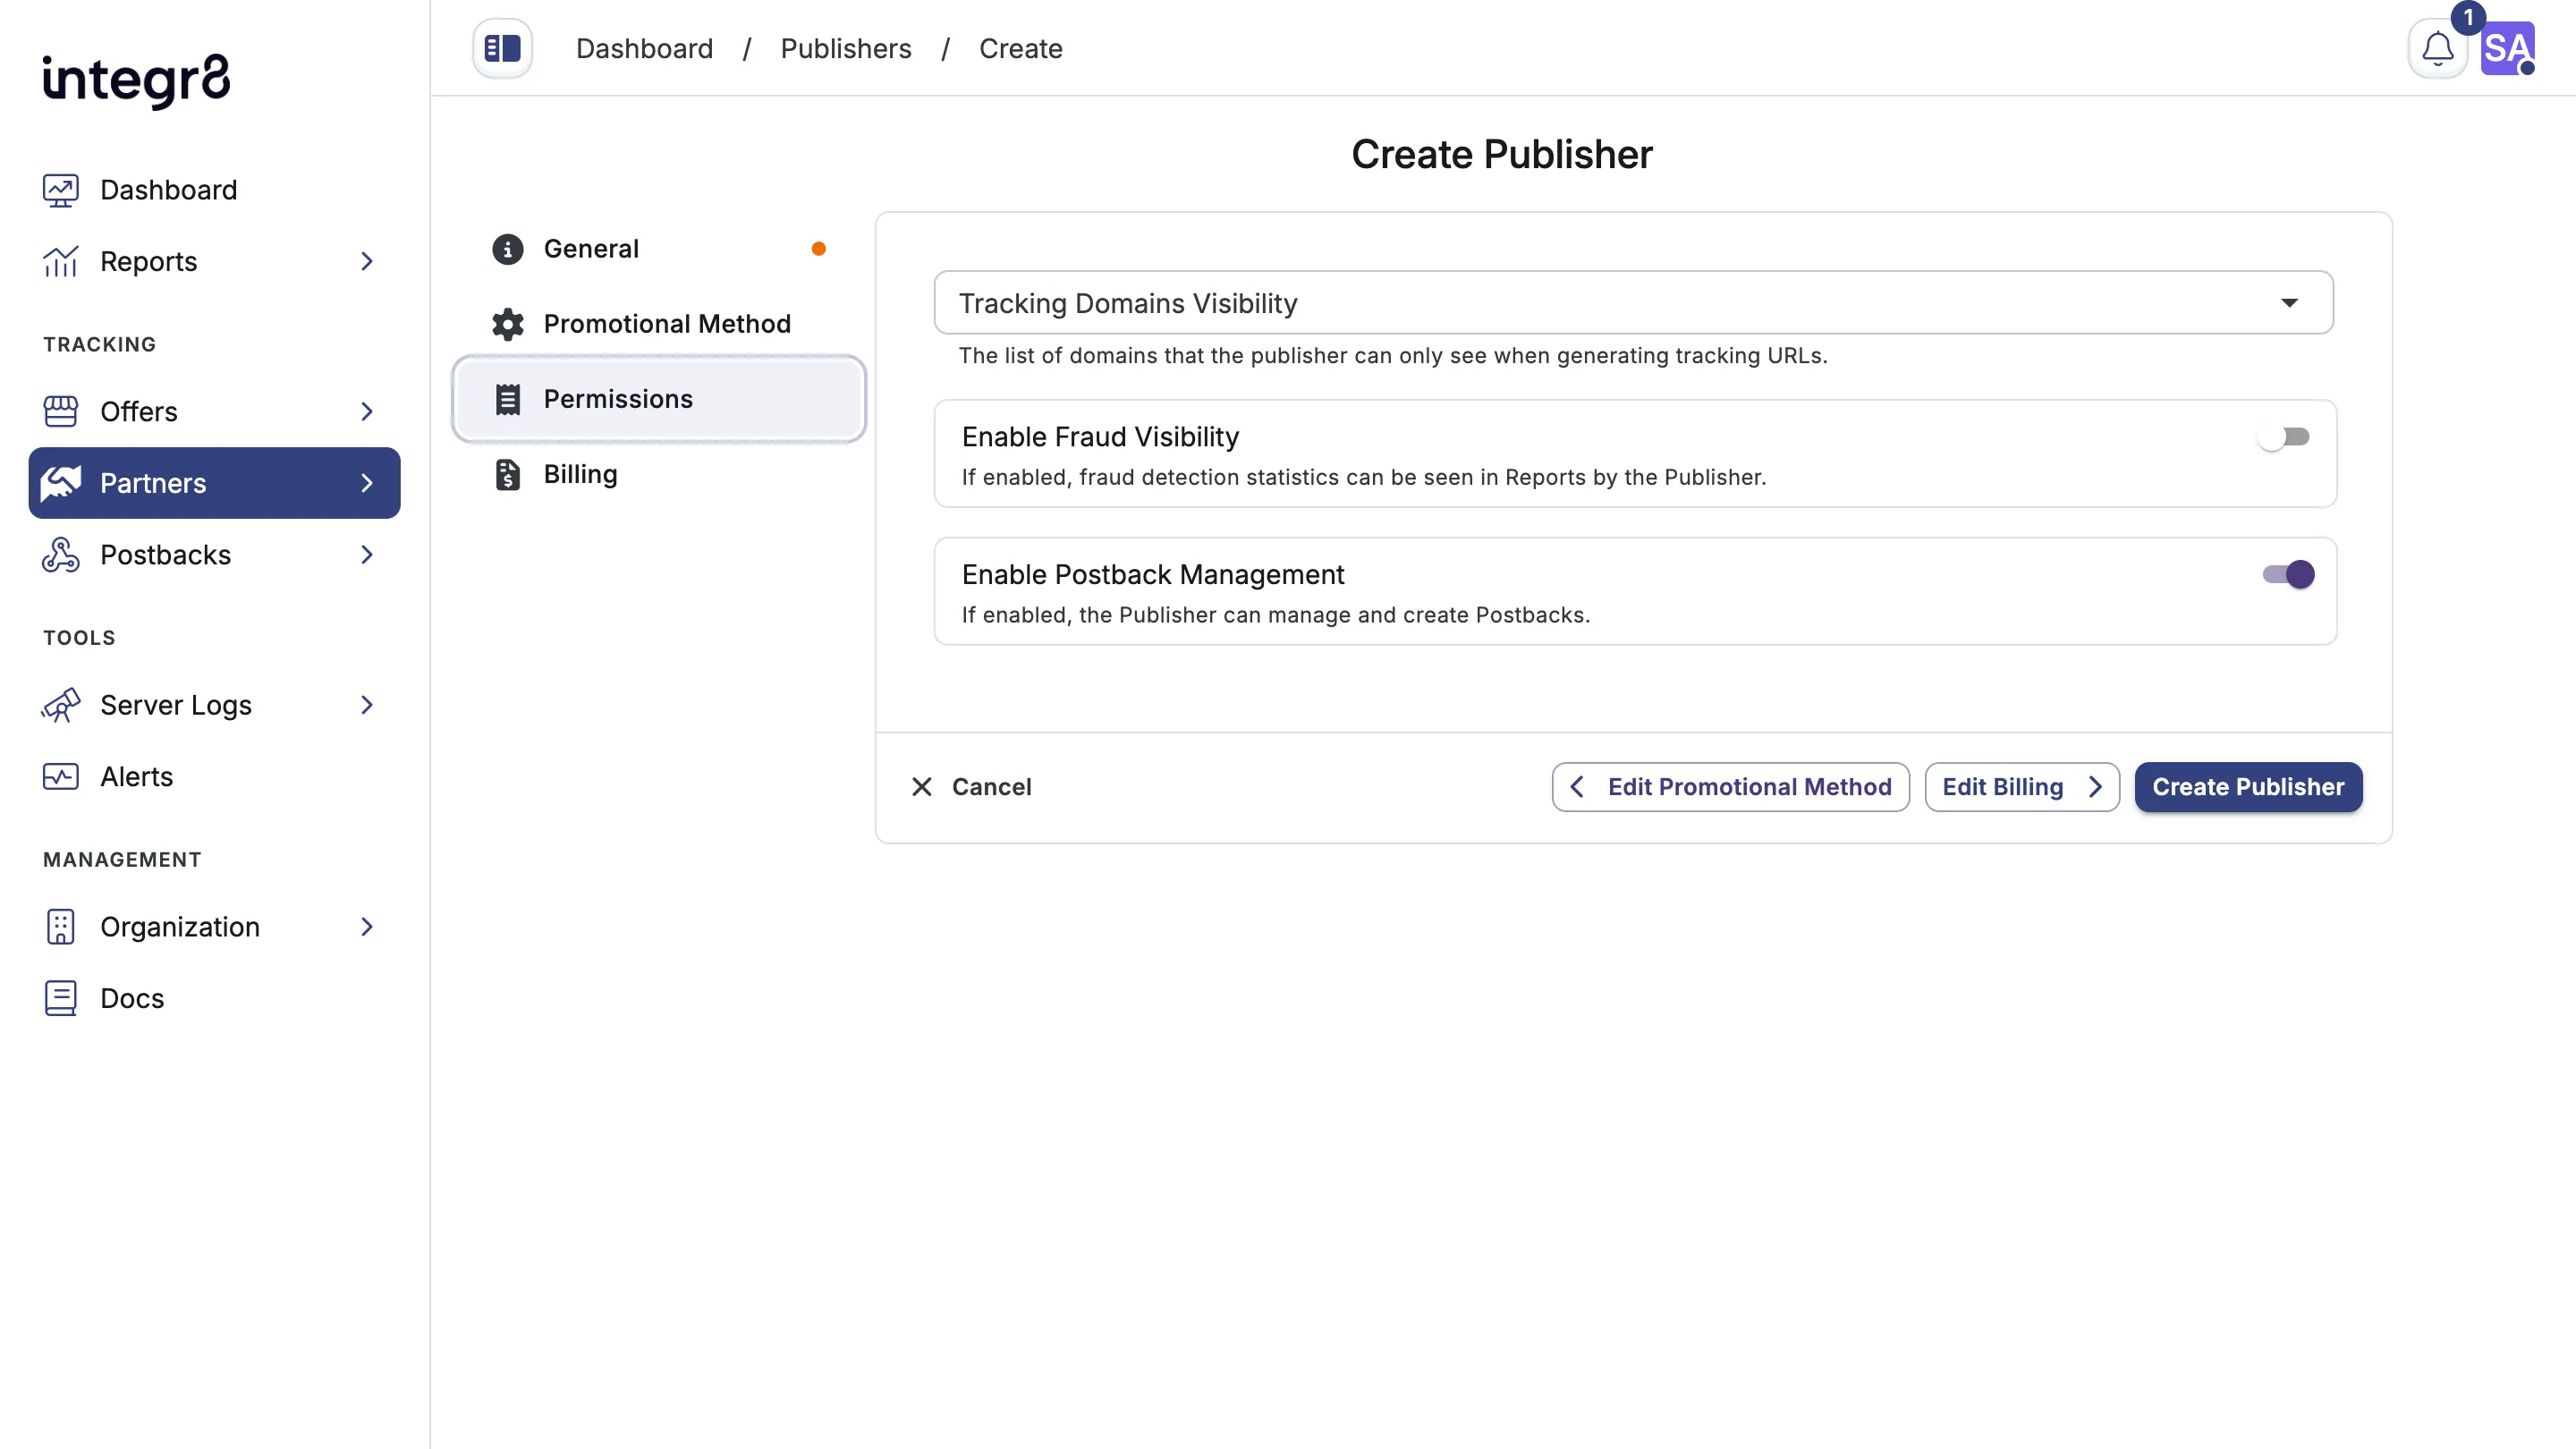
Permissions Tab
Section titled “Permissions Tab”- Tracking Domains Visibility: limit which domains the publisher can see when generating tracking URLs.
- Enable Fraud Visibility: when on, fraud detection stats appear in the publisher’s own dashboard.
- Enable Postback Management: when on, the publisher can create and manage their own affiliate postbacks. This is enabled by default. Turn it off unless you trust the operator.
- Tags: optional labels for filtering and grouping publishers in reports.
Danger zone Tab
Section titled “Danger zone Tab”- Publisher is Active - Disabling this will block all traffic from this publisher without deleting the account.
Step 3: Billing
Section titled “Step 3: Billing”Set payment method and tax details now, or leave the defaults and configure billing later.
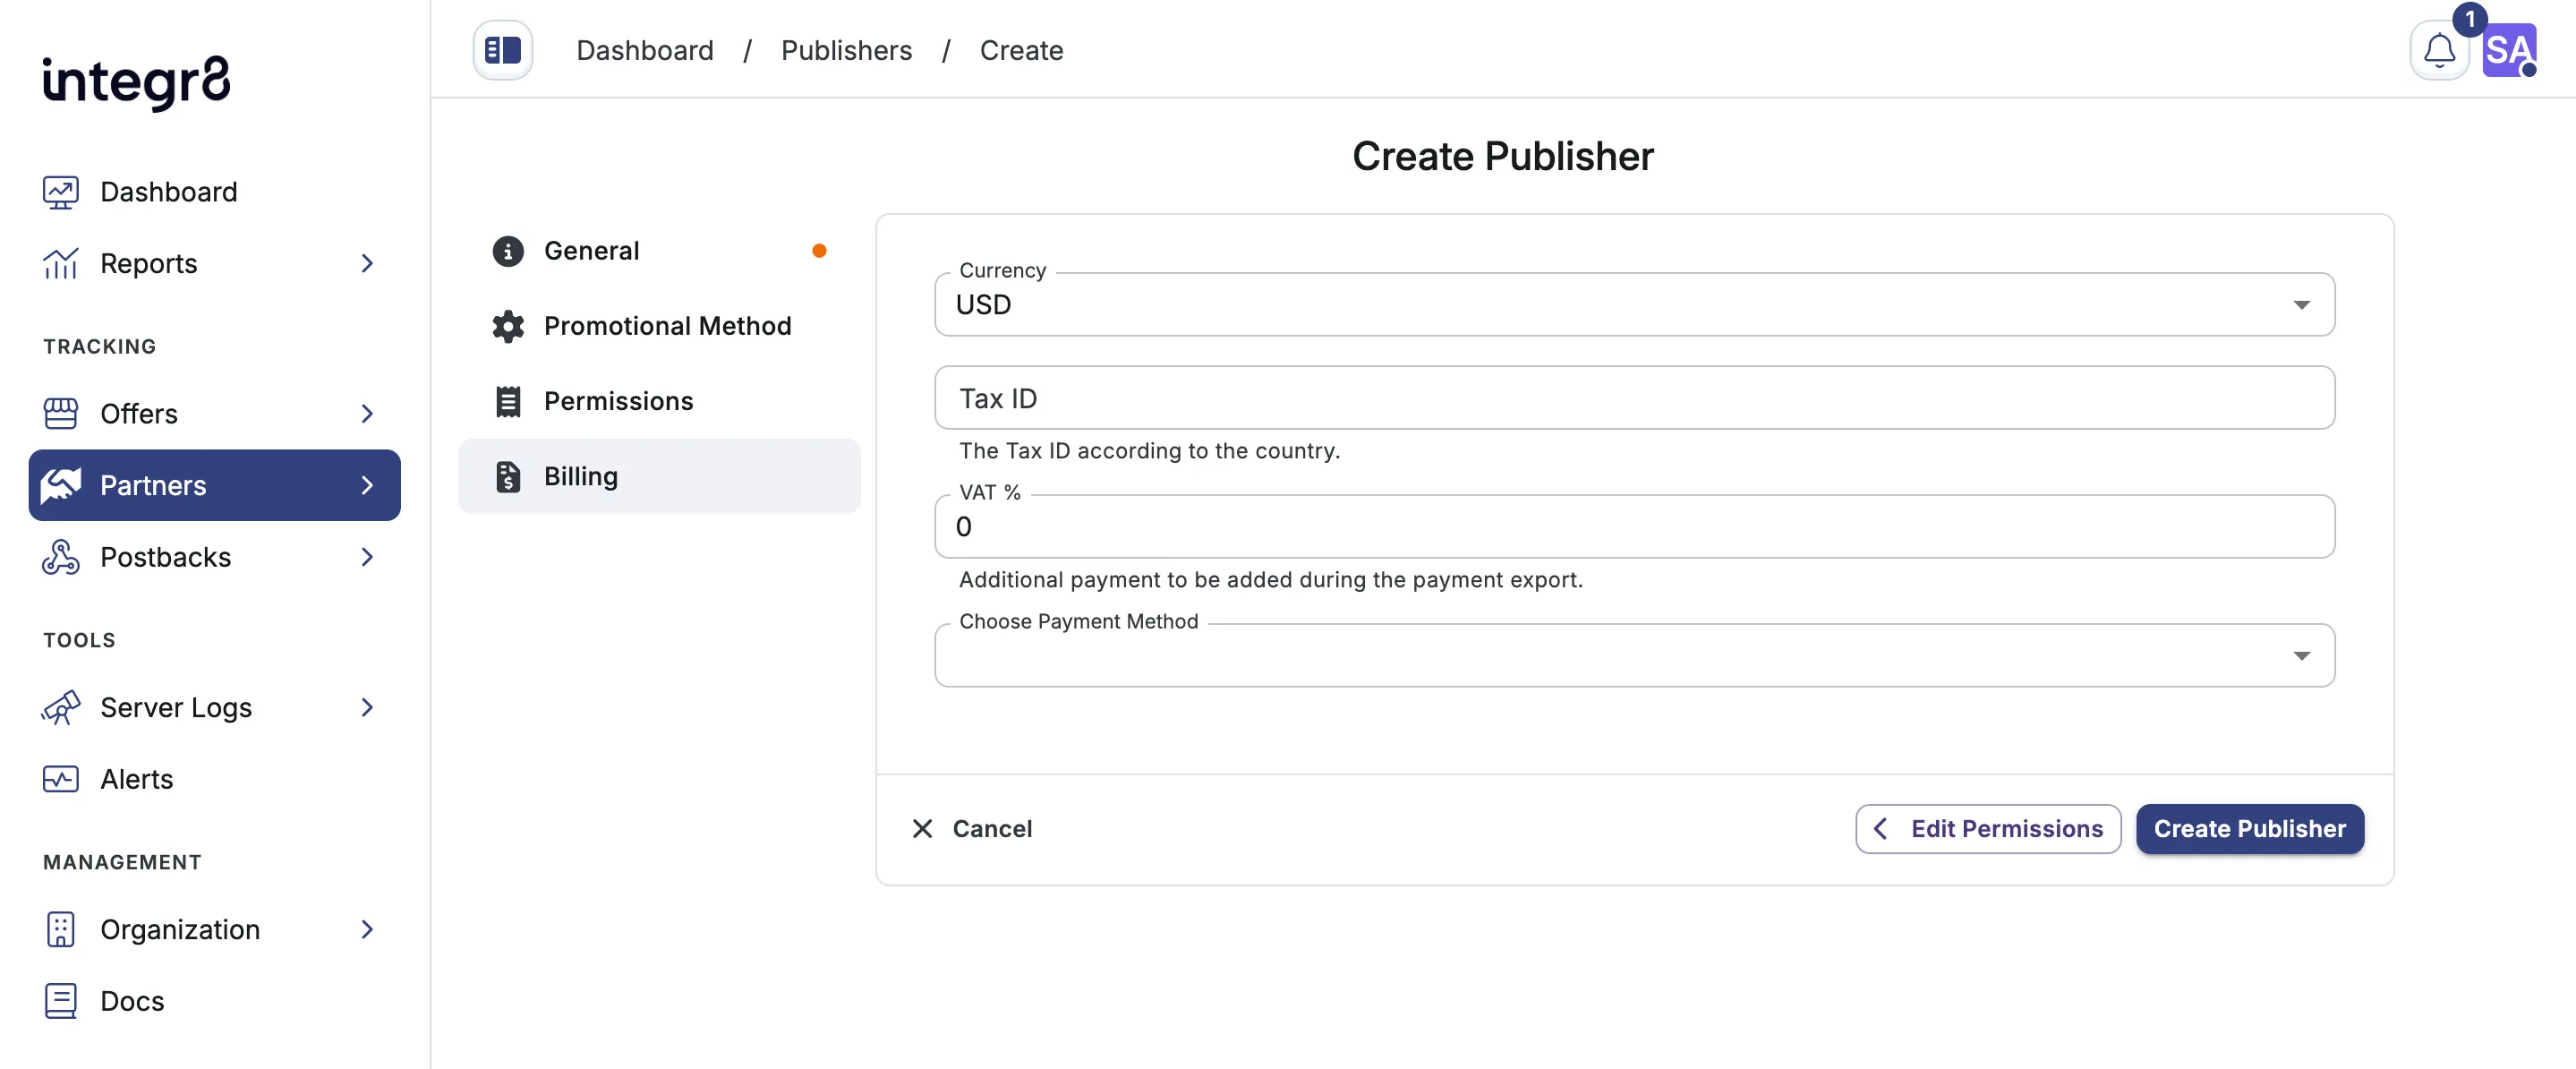 Click Create Publisher to Save.
Publisher users
Section titled “Publisher users”A publisher account alone does not grant login access. To let someone use the white-label publisher dashboard, invite a publisher user.
Invite a publisher user
Section titled “Invite a publisher user”- Open the publisher and go to the Publisher Users tab.
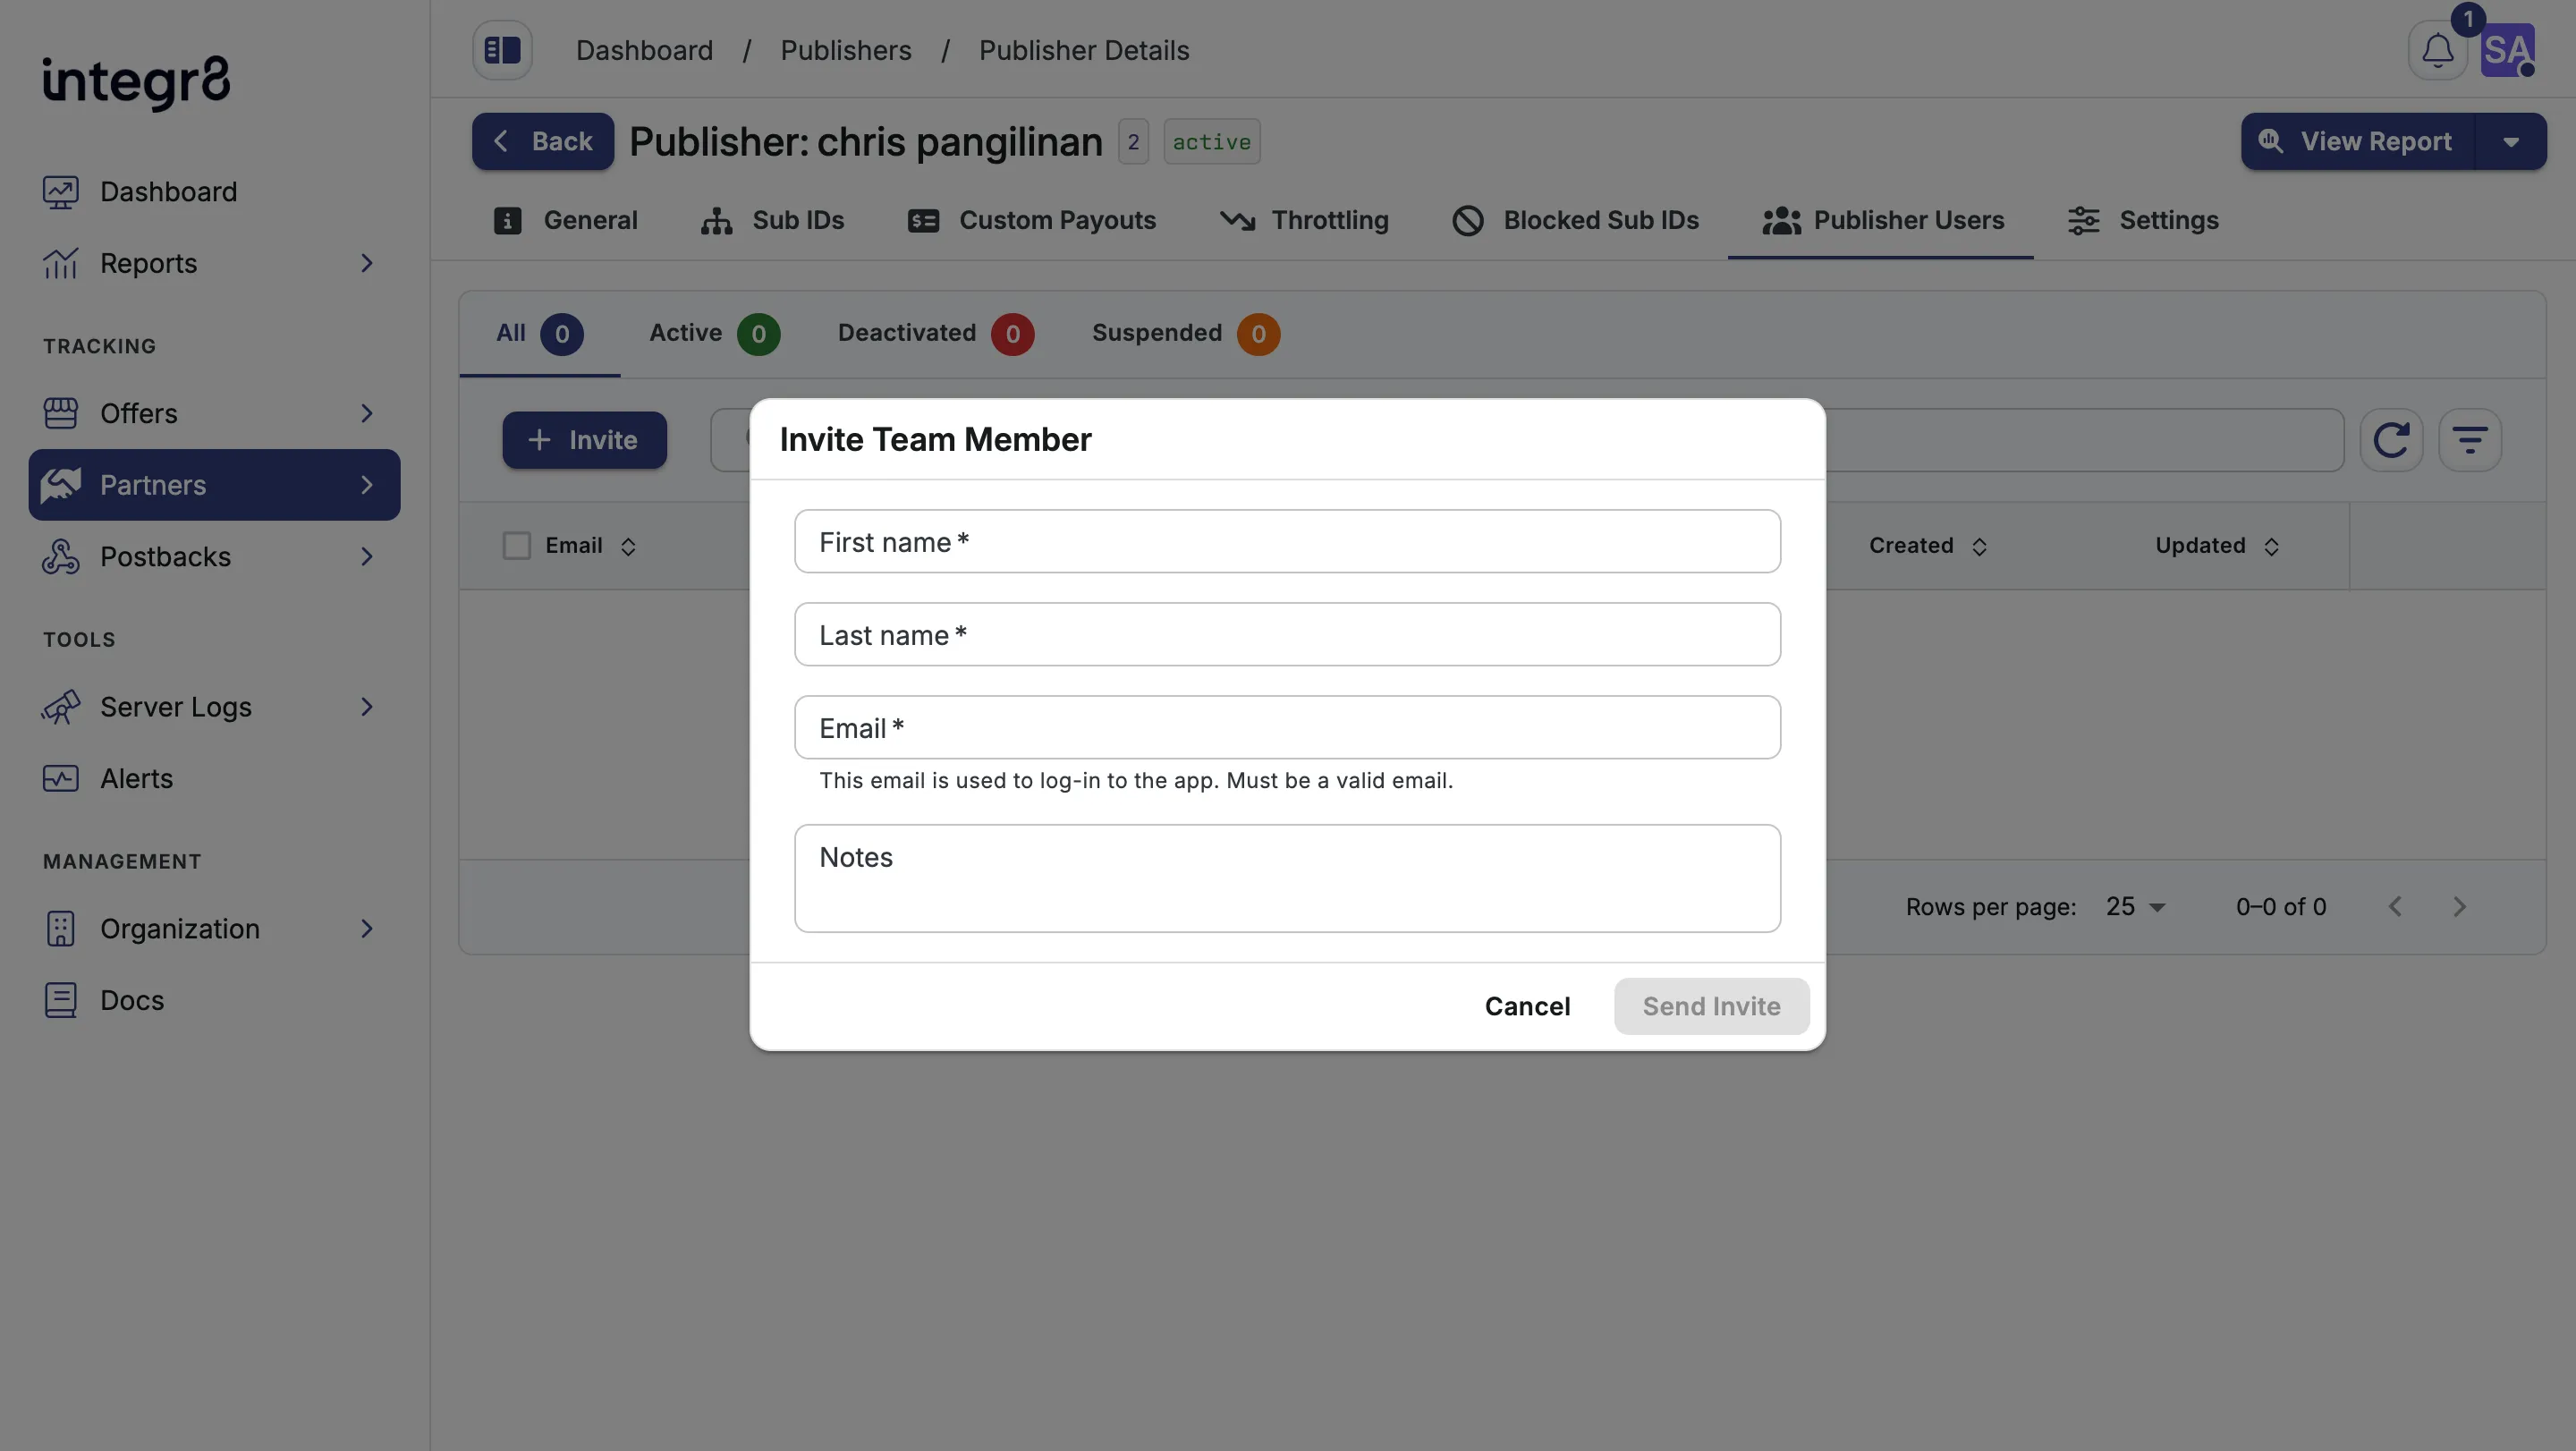
- Click Invite.
- Fill in First name, Last name, and Email (used to log in).
- Click Send Invite.
 Integr8 sends a password setup email. After the user confirms, they can log in and view allowed offers and reports.
Manage publisher users
Section titled “Manage publisher users”From the Publisher Users tab you can:
- Edit a user to update name, notes, or status (Active, Deactivated, Suspended).
- Change password or Reset password from the row action menu.
- Assume identity to log in as an active publisher user for troubleshooting.
- Delete a user to revoke access on their next login.
Each publisher supports up to 100 publisher users. When the limit is reached, Invite is disabled.
Make sure partner login / white-label dashboard is configured so invited users have a URL to sign in.
Self-signup via the Partner login portal
Section titled “Self-signup via the Partner login portal”Publishers can sign up themselves through your partner login URL. New accounts land in pending state until you approve them. To enable self-signup, configure the partner login first. See partner login setup.
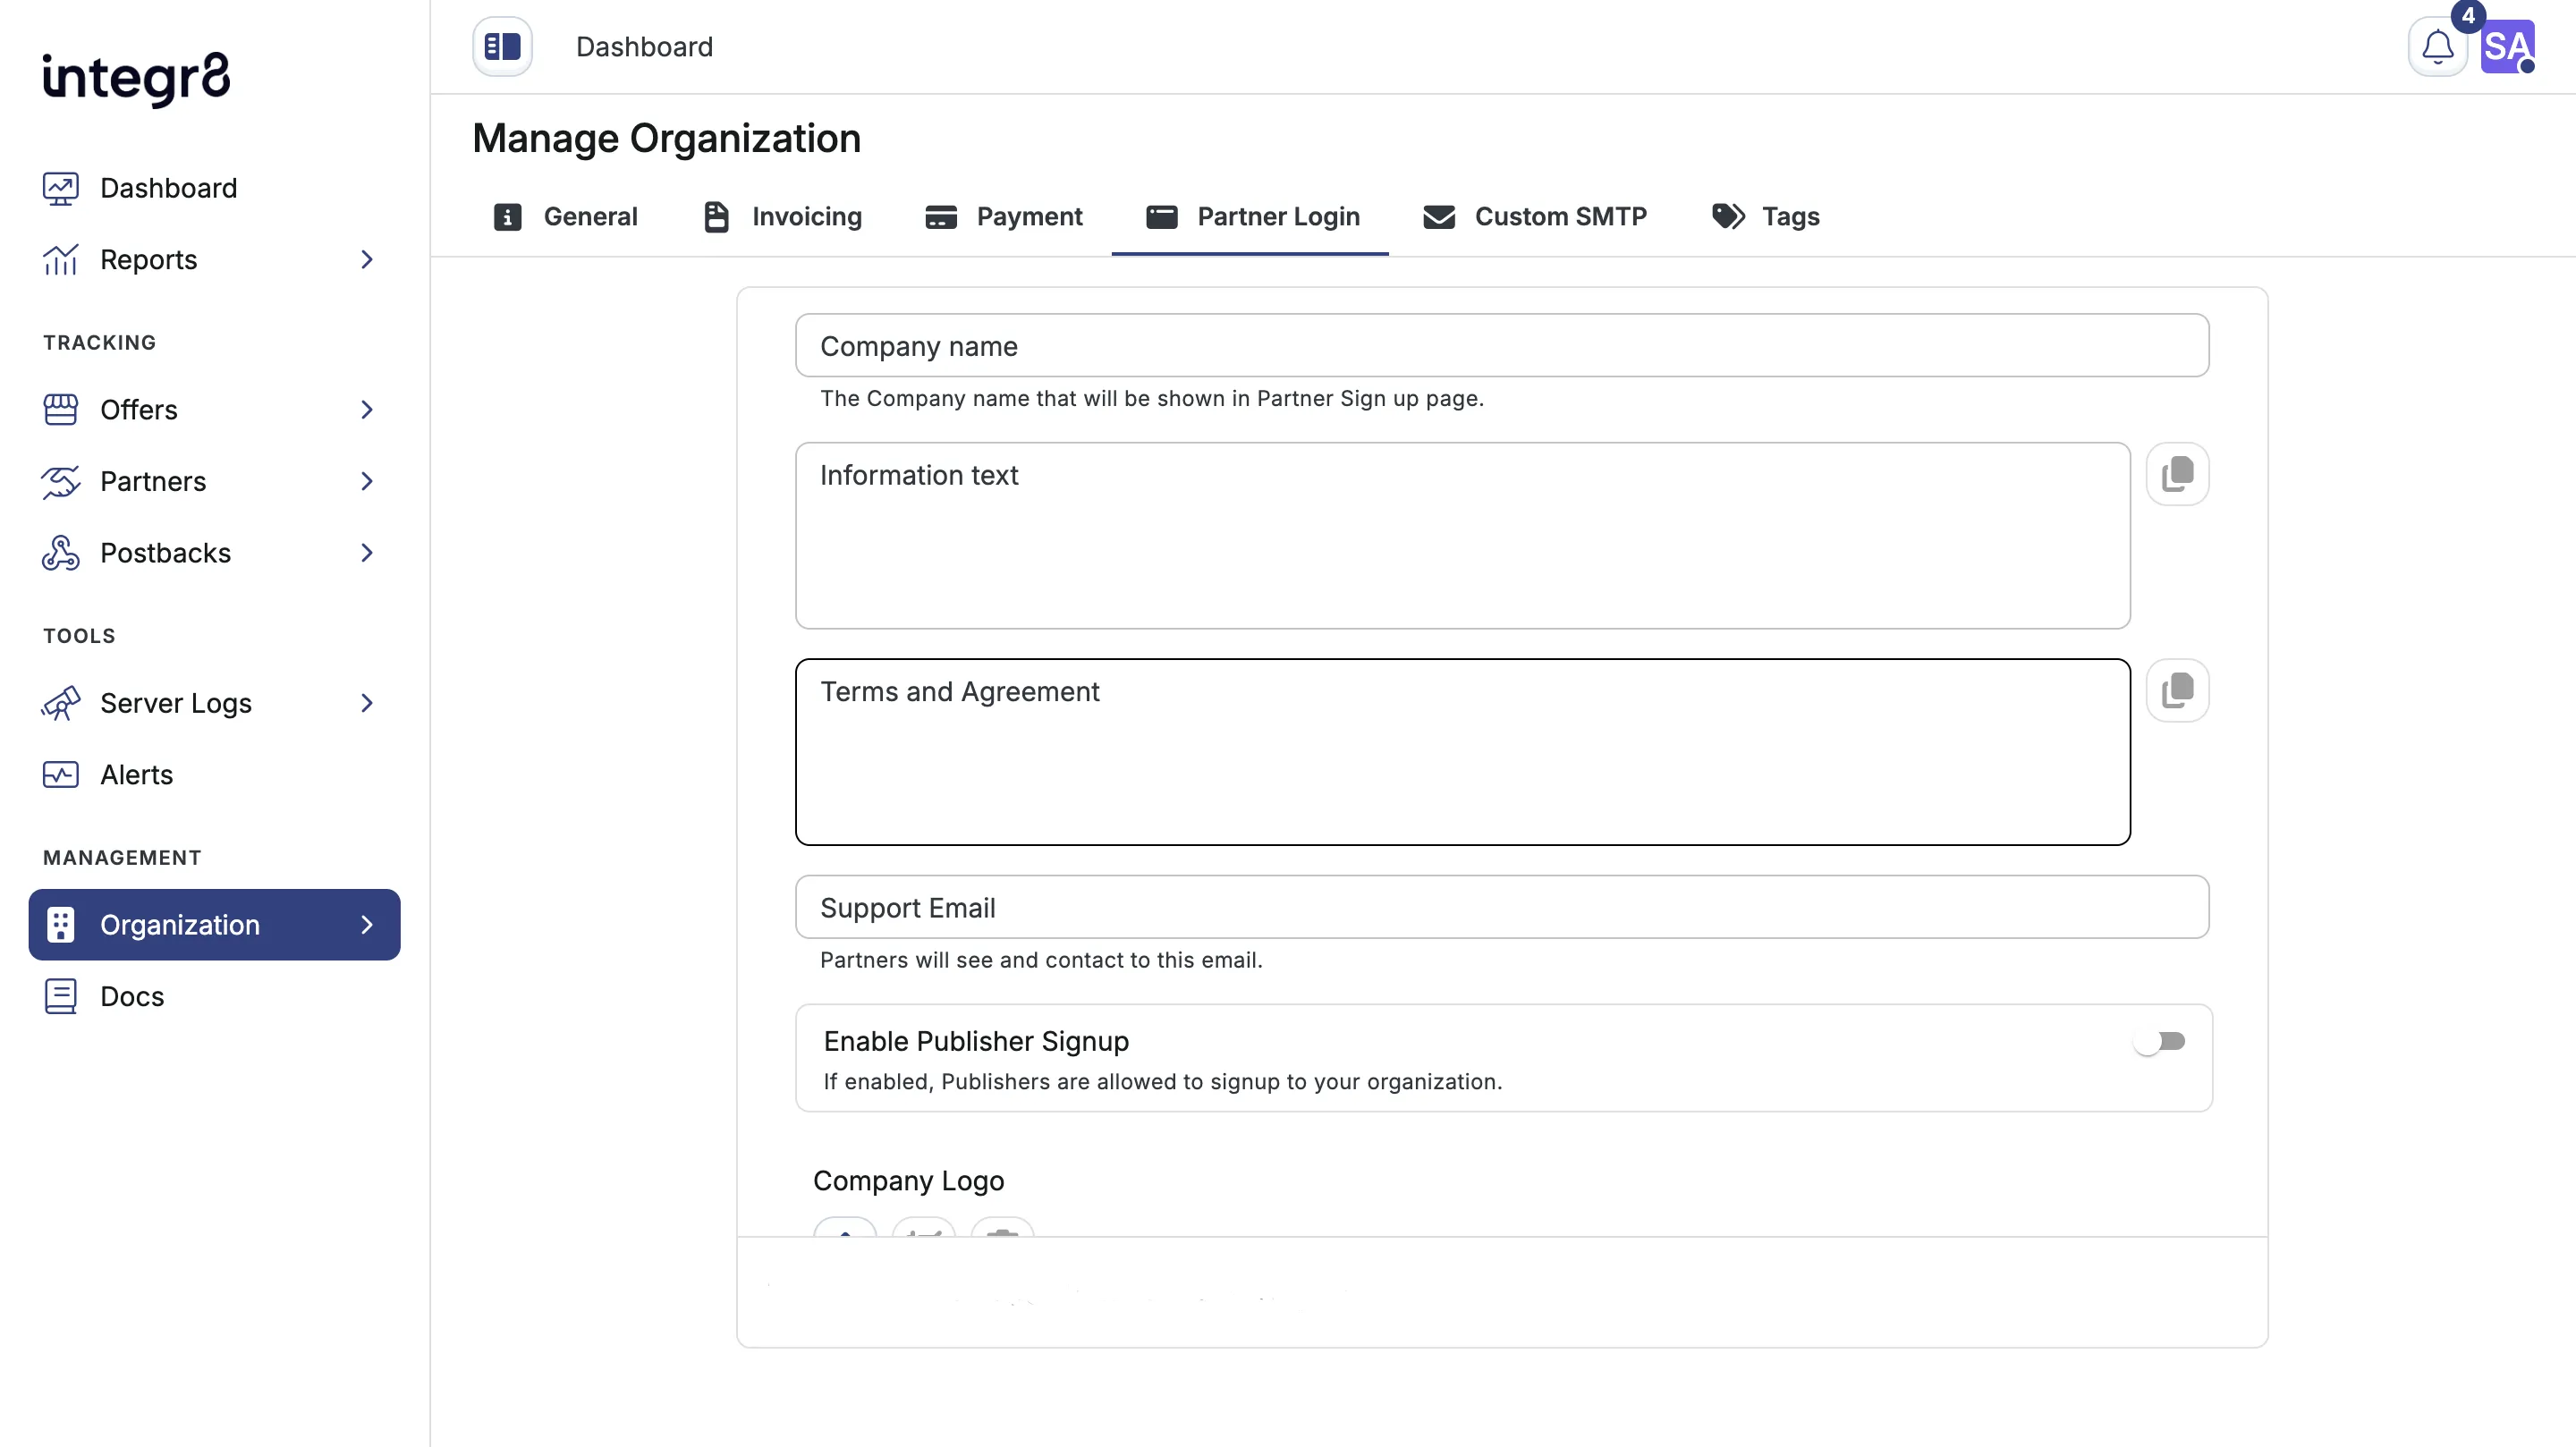 Approved pending signups appear under the Pending Signup tab on the Publishers Management page. After approval, invite publisher users so they can log in.
Field reference
Section titled “Field reference”Publisher account
Section titled “Publisher account”| Field | Required | Description |
|---|---|---|
| Name | Yes | Internal label for the publisher |
| Company Email | No | Contact email for the publisher |
| Website | No | Publisher’s main domain |
| Activated | Yes | Toggles whether traffic is accepted |
| Enable Fraud Visibility | No | Show fraud stats in the publisher’s dashboard |
| Enable Postback Management | No | Allow the publisher to create their own postbacks. Enabled by default on create |
| Tags | No | Labels for filtering and grouping |
Publisher user
Section titled “Publisher user”| Field | Required | Description |
|---|---|---|
| First name | Yes | User’s first name |
| Last name | Yes | User’s last name |
| Yes | Login email. Set at invite time | |
| Notes | No | Internal notes when editing the user |
| Status | Yes | Active, Deactivated, or Suspended |
Next steps
Section titled “Next steps”- Configure billing so the publisher can be paid.
- Set custom payouts per offer for top performers.
- Configure throttling to control conversion volume per offer.
- Block sub IDs from publishers that send mixed-quality traffic.